English: Micro End Mill Breakage Prevention: Runout, Reach, Chip Load and Toolpath
Micro end mill breakage is usually a system problem, not proof that the programmed feed was simply “too high.” The drawing can force a weak diameter, but runout, excess reach, rubbing below the edge radius, chip recutting or a sudden engagement change decides which flute fails first. Start by separating the features that truly require a sub-millimeter tool from those that can be opened with a larger rigid cutter.
Read the micro features before selecting diameter
Mark the minimum slot width, inside corner radius, depth-to-width ratio, floor requirement, draft, exit edge and positional tolerance. A 0.45 mm slot does not automatically justify a 0.40 mm cutter if coating thickness and runout remove the required side clearance. Conversely, a 0.25 mm corner radius should not force the same tiny tool to rough an open 3 mm pocket. Rough accessible stock with the largest tool, leave uniform micro-finish stock, and reserve the smallest cutter for the drawing-limited region.
| Drawing feature | Micro-tool and holder choice | Toolpath decision | Inspection / rejection gate |
|---|---|---|---|
| 0.45 mm slot, 1.2 mm deep | Ø0.35–0.40 mm two-flute micro end mill, short flute, reduced neck, precision micro collet or shrink holder | Pre-open the approach; use shallow radial step or controlled slot passes with complete chip clearing | Optical slot width, taper, corner radius and packed-chip witness |
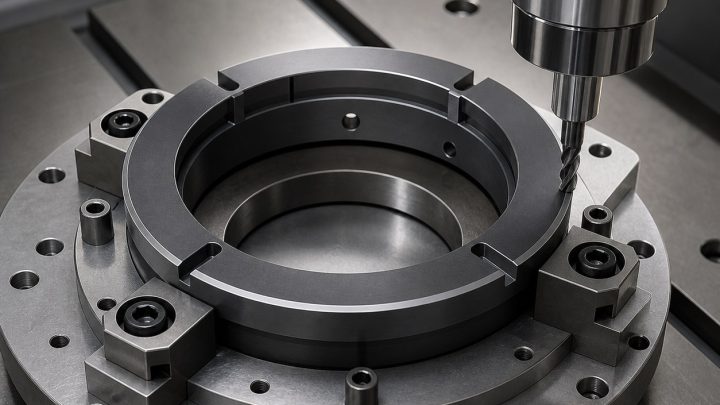
| 1.8 mm pocket with R0.25 corners | Ø0.8 mm rougher first; Ø0.45–0.50 mm radius finisher only in residual corners | Rest machining from verified stock; arc entry without dwelling | Residual-stock map, floor witness and wall mismatch |
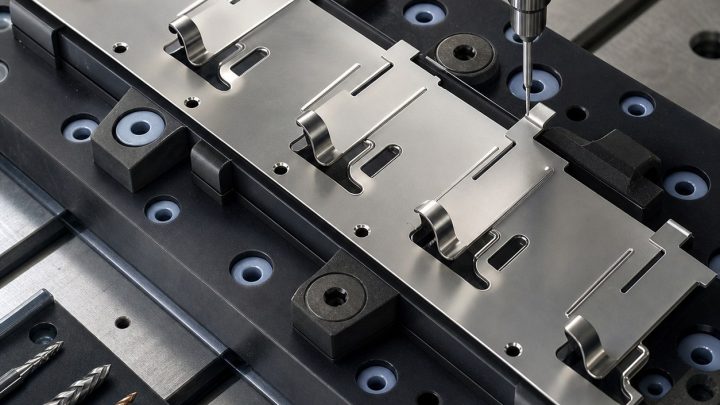
| Thin rib beside microchannel | Sharp 2–3 flute dedicated finisher, minimum flute length, measured edge runout | Alternate wall passes and finish after surrounding stock is stable | Released rib thickness, bow and burr height |
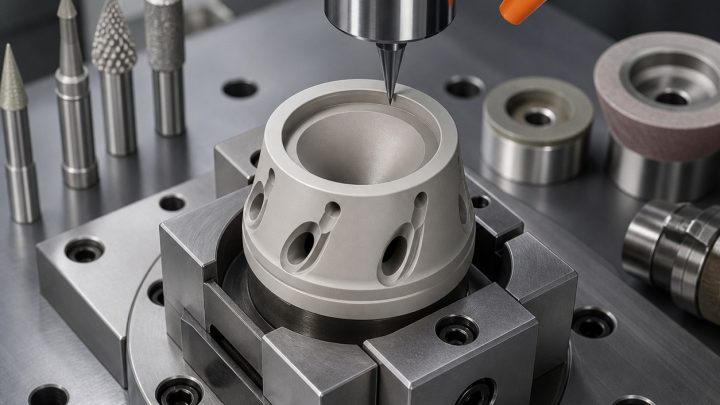
| Abrasive graphite/composite detail | Diamond-coated micro tool with dust extraction and sealed precision holder | Dry extraction; avoid recutting abrasive dust | Edge rounding, coating loss and dimensional drift |
Choose geometry, coating and reach as one package
For aluminum, a polished two-flute high-positive tool with large gullets and uncoated or ZrN/DLC surface resists adhesion; AlTiN is usually a poor substitute for chip space. For stainless or hardened tool steel, a stronger 2–4 flute fine-grain carbide with a thin PVD coating and a small protected edge may survive better, but the hone must remain smaller than the intended chip. Abrasive graphite and fiber composites need diamond-family wear protection and extraction. Reject a long standard flute when a short-flute reduced-neck tool provides reach without sacrificing core diameter.
Runout sets the load on each flute
Measure total indicated runout at or near the cutting edge after assembly, not only on the holder taper. On a micro tool, a few micrometers can consume a large fraction of the programmed chip thickness, leaving one flute rubbing and the opposite flute overloaded. Clean the spindle and holder interfaces, inspect the collet, shorten gauge length and index the tool before increasing feed. Diameter compensation cannot correct unequal flute loading. Link the acceptance limit to actual fz and feature tolerance rather than applying one shop-wide number.
Plan roughing, semifinishing and finishing separately
Qualify the datum and remove bulk stock before loading the micro tool. Semifinish with a larger cutter wherever possible, then scan or verify the residual stock so the micro finisher never meets a hidden full-width island. Use constant-engagement paths, small arcs at direction changes and an entry suited to the tool’s center-cutting geometry. A programmed plunge, dwell, abrupt corner or rapid re-entry into uncleared chips can break the tool without any long-term wear signal. Use air, MQL or coolant only where the material and machine can deliver chips away from the flute.
Set a wear gate before the invisible failure
Micro tools may break before spindle-load monitoring shows a useful change. Inspect a defined sample interval with magnification, compare edge radius and corner chipping, trend slot width and burr height, and use a laser or contact tool setter only within its repeatability and force limits. Replace the tool when single-flute wear, coating loss, dimensional drift or burr growth reaches the process limit. After unclamping, inspect thin ribs and channel walls because elastic recovery can hide error in the fixture.
Related technical paths: runout measurement guide; chip-thickness guide; micro-hole hub; MP35N micro-pocket case.
Micro end mill breakage questions
Should feed always be reduced after a break? No. Confirm runout, chip evacuation, hidden engagement and entry first; too little feed can cause rubbing. Are more flutes safer? Not when the slot cannot evacuate chips. More flutes help finishing only when space, runout and power support them. Can a micro drill replace a micro end mill? A drill is preferred for a round axial hole; an end mill is chosen for lateral geometry, interpolation or residual corners. The tool must follow the feature, not inventory convenience.