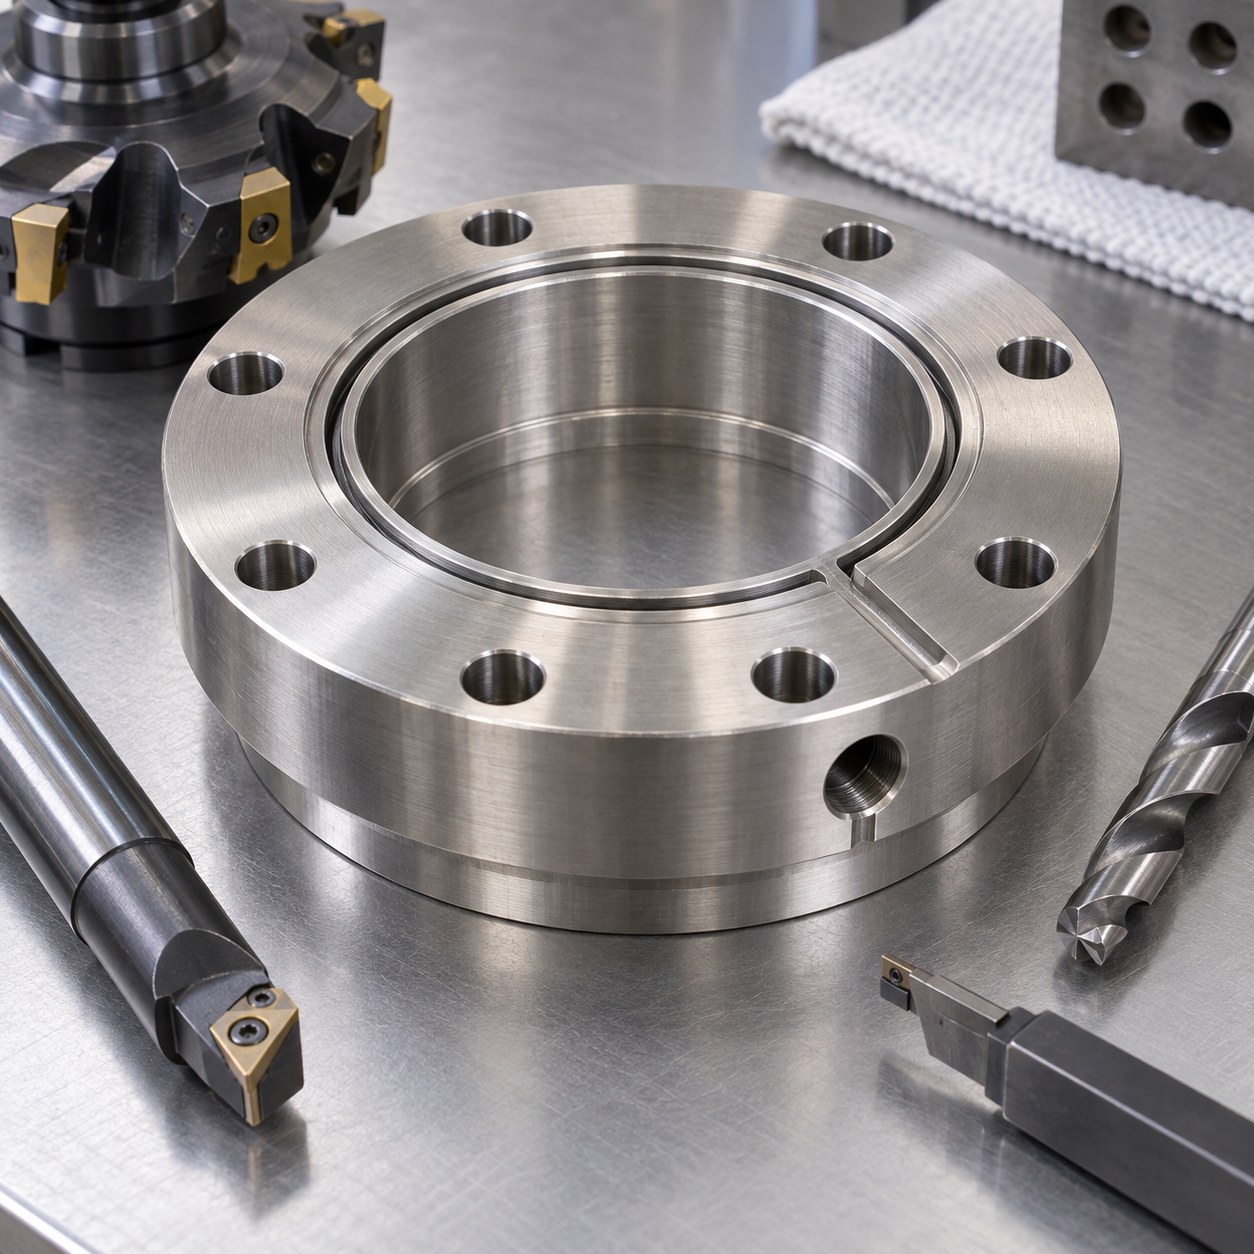
English: Hastelloy B-3 Disc Holder Tooling for Knife Edge and Vent Groove
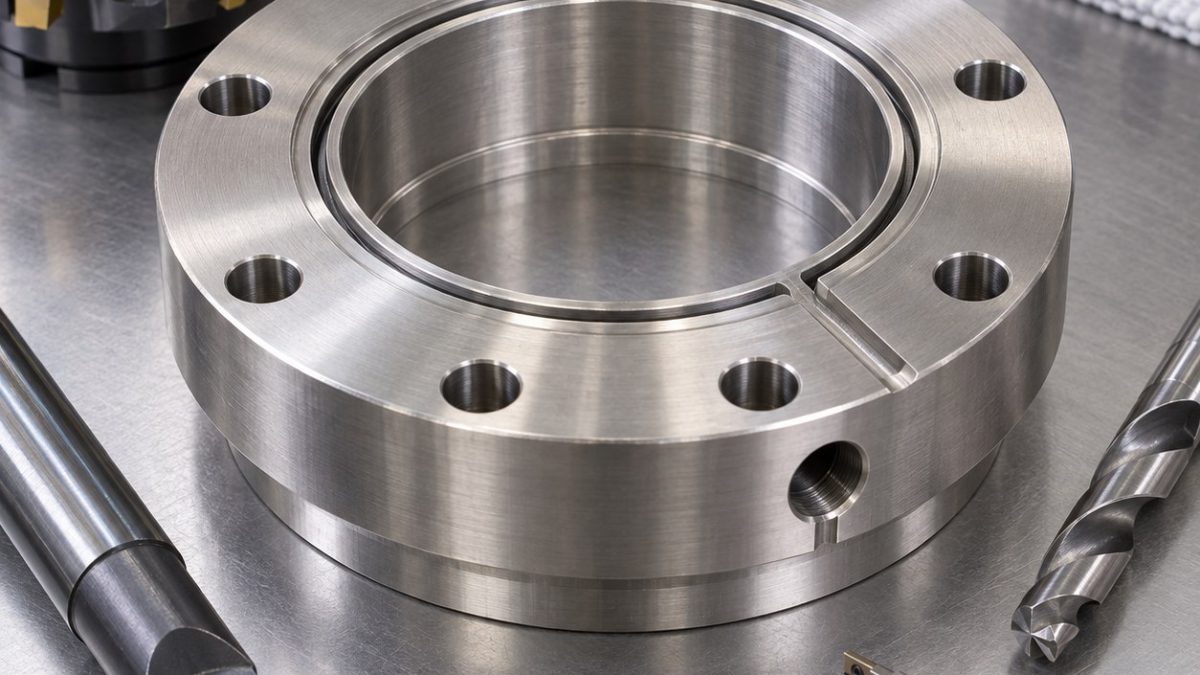
The drawing is driven by the relationship between the locating shoulder and a narrow circular knife edge; the vent groove must collect leakage without undercutting that seat. Datum A is the back face, B is the pilot bore and one bolt hole clocks the radial port. This hypothetical machining plan does not certify burst pressure.
Build shoulder and pilot in one grip
Rough the central bore and face on broad soft jaws, semifinish the pilot and shoulder, then cut the vent groove while the crest still has protective stock. Drill the radial port from a spot-faced pad and back-chamfer its internal exit. Return to the original A-B grip for one uninterrupted knife-edge finish pass, followed by the bolt circle.
Separate groove roughing from knife-edge finish
| Drawing feature | Carbide tool and holder | Why selected / alternative rejected |
|---|---|---|
| Back face and pilot bore | 12 mm 5-flute AlTiN carbide end mill in hydraulic holder, then short PVD M-grade boring bar | One setup fixes A-B; a reamer follows a displaced rough bore. |
| Locating shoulder | Sharp 0.4 mm-radius PVD carbide turning insert, minimum overhang | Low force protects flatness; a wide wiper adds heat at the shoulder. |
| Annular vent groove | 1.5 mm positive-rake PVD carbide groover with 0.03 mm hone | Dedicated width controls floor; a broad form cutter chatters in B-3. |
| Knife-edge seat | Narrow single-point carbide finisher with 0.1 mm radius, anti-vibration holder | Light continuous pass produces the crest; plunging a form tool smears it. |
| Radial leak port and bolt circle | Spot-face mill, 2 mm coolant-through carbide drill and single-flute chamfer tool | Normal entry prevents walk; hand wire deburring can nick the seat. |
Control work hardening at the leak port
Hastelloy B-3 work-hardens if the cutter dwells and can notch tools at a constant groove depth. Maintain positive feed, use stable coolant and inspect the groover before changing offsets. A shiny band, blue compact chips or rising torque signals edge failure. Do not polish the knife edge by hand.
Inspect the seat without damaging it
After unclamping, measure pilot-to-seat runout, crest height, groove width and shoulder spacing. Inspect the knife edge with noncontact optics and the radial intersection with a borescope. Pressure, corrosion and rupture calibration require separate qualified testing.
Practical tooling FAQ
Why cut the groove before the knife edge?
Protective stock supports the ring while the groover applies radial force.
Can hand polishing improve the crest?
No. It changes height and radius unpredictably; correct the cutter and path instead.
nickel-alloy knife-edge and groove tooling · carrier bore and slot strategy