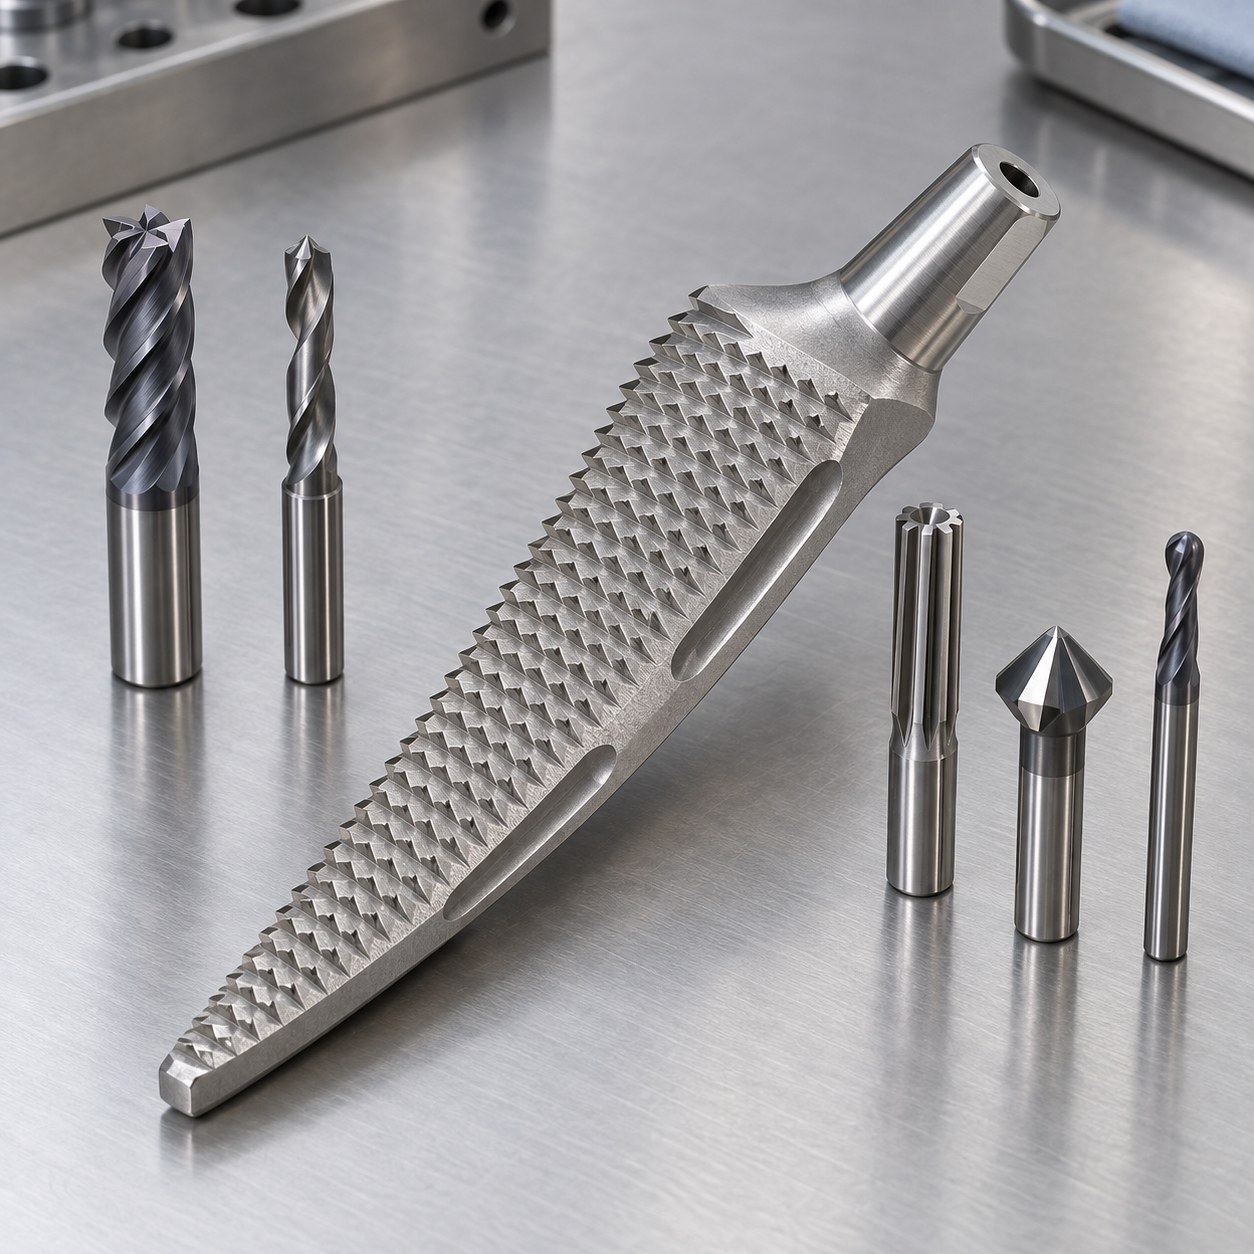
English: CoCrMo Trial Broach Tooling for Serrated Teeth and Attachment Bore
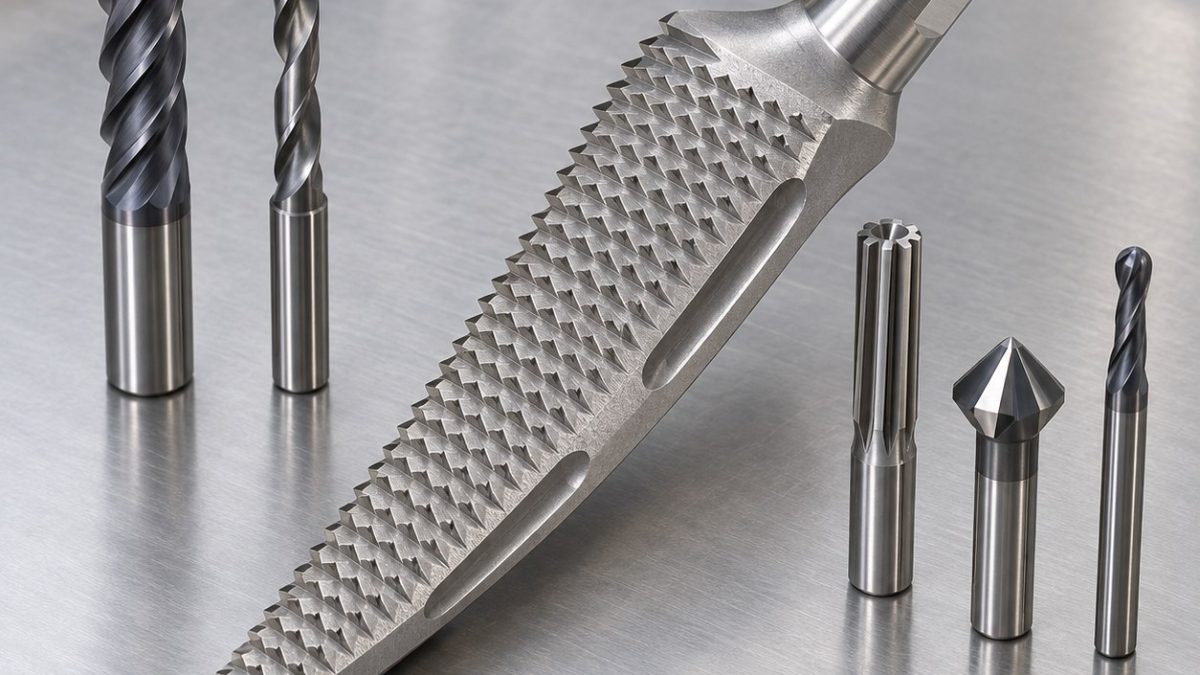
The search intent is how to mill repeated serrations in CoCrMo without sacrificing the attachment-bore datum or burning the tooth tips. The hypothetical drawing controls the tapered envelope from the reamed handle bore and orientation flat; tooth height is inspected by stations rather than one overall profile. This is a non-implant trial instrument example, not a clinical claim.
Protect the handle datum before tooth milling
Machine the attachment bore and flat first, then locate the part on an expanding mandrel backed by the flat. Rough alternate sides of the tapered body to balance load. Cut relief flutes before serrations, index tooth rows from the bore axis, and finish tips in ascending station order with a fresh small cutter.
Rough the taper without glazing the alloy
CoCrMo combines abrasion with heat retention. Maintain chip load, use stable coolant aimed at the tooth root, and track spindle power by cutter length. Shiny burnishing, brown fines or identical tip rounding across several rows indicates edge wear—not a geometry offset problem.
Match each tooth feature to a cutter
| Drawing feature | Carbide tool and holder | Why selected / alternative rejected |
|---|---|---|
| Tapered body roughing | 10 mm 5-flute variable-helix AlTiN micrograin carbide end mill, shrink holder | Dynamic side milling limits radial load; a four-flute full-width path overheats the hard alloy. |
| Serration root channels | 3 mm 4-flute TiAlN carbide end mill with reinforced core, 8 mm reach, hydraulic chuck | Short reach resists bending; a long neck tool chatters before reaching tooth-size tolerance. |
| Tooth flank and tip finish | 2 mm tapered ball-nose AlCrN carbide mill, light edge hone, high-accuracy collet | Indexed scallop passes control flank form; a sharp V-cutter contacts too much width at once. |
| Attachment bore | Carbide drill, semi-finish boring pass and 6 mm multi-margin carbide reamer with through coolant | Boring corrects location before reaming size; drill-to-ream alone follows initial drift. |
| Relief flutes and orientation flat | 4 mm 4-flute radius end mill plus 6 mm 5-flute finishing mill | Radius avoids a stress notch; a slitting saw leaves an inaccessible exit burr. |
Inspect stations, edges and cleanability
Verify bore size and flat clocking before tooth inspection. Scan three defined cross-sections on a vision system, compare root radius and tip height, and inspect relief-flute exits under magnification. Dye penetrant or cleaning validation, if required by the hypothetical route, is separate from dimensional acceptance.
Practical tooling FAQ
Why use an expanding mandrel after reaming the attachment bore?
It makes the functional bore the rotary datum and avoids clamping serrated surfaces.
Should tooth tips be deburred by tumbling?
Not by default. Uncontrolled tumbling can round station heights; use a validated localized edge process.
PEKK Aerospace Harness Clamp CNC Tool Selection for Curved Saddle and Retention Ears · Ti-6Al-7Nb Dental Drill Guide CNC Tool Selection for Angled Sleeve Bore and Tooth Saddle